
I'm seeing several threads on guys porting their own heads. How about posting up a couple of pics if you've done one and briefly how you did it.
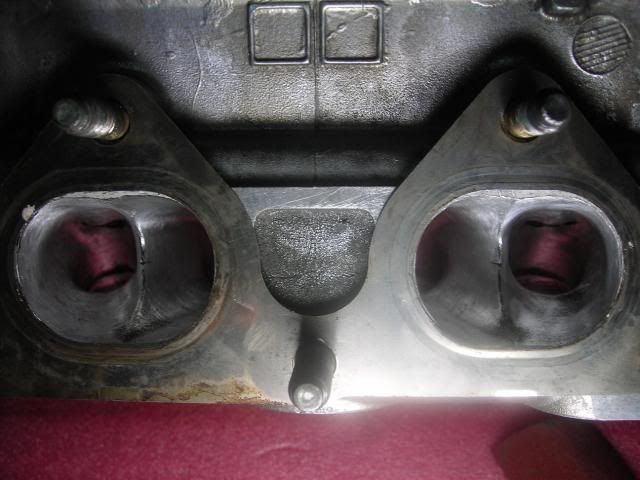
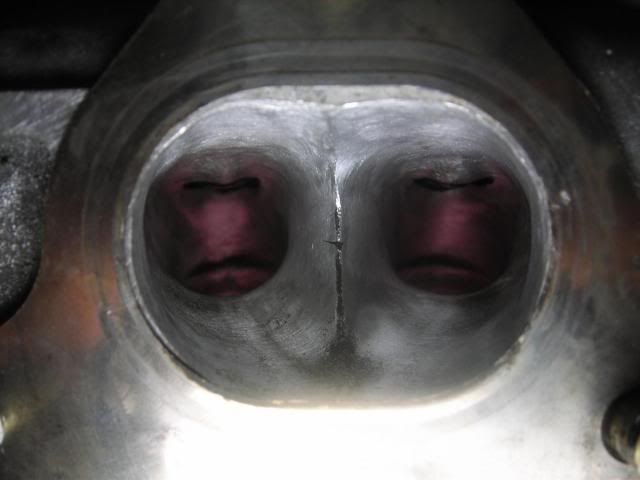
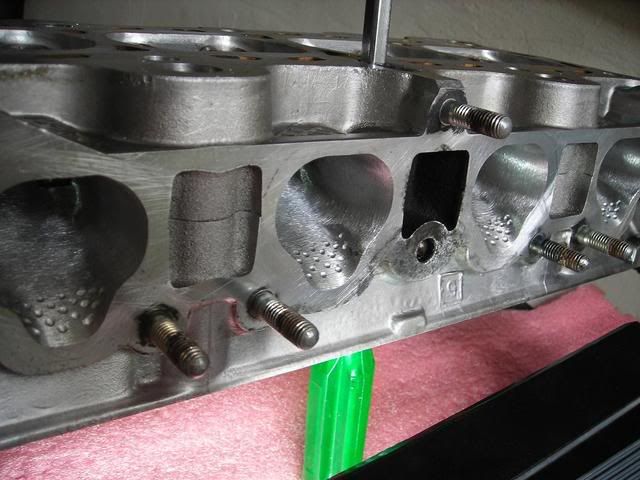
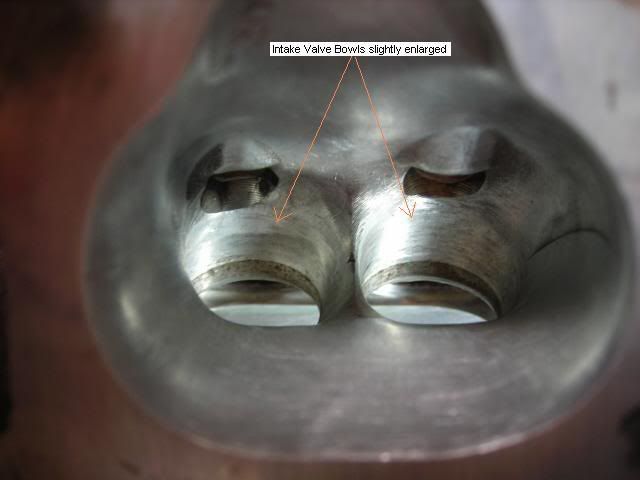
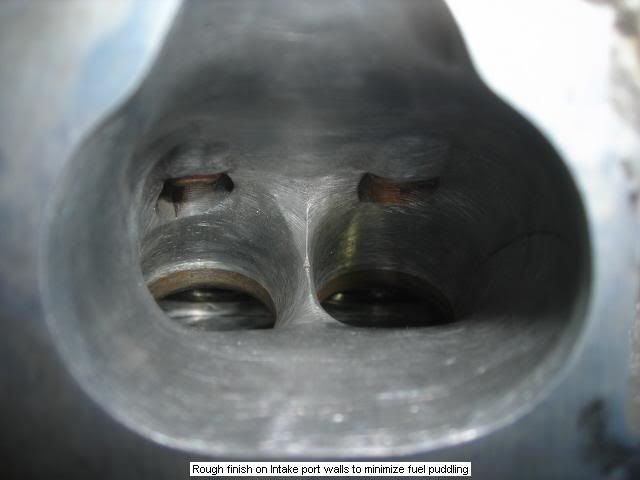
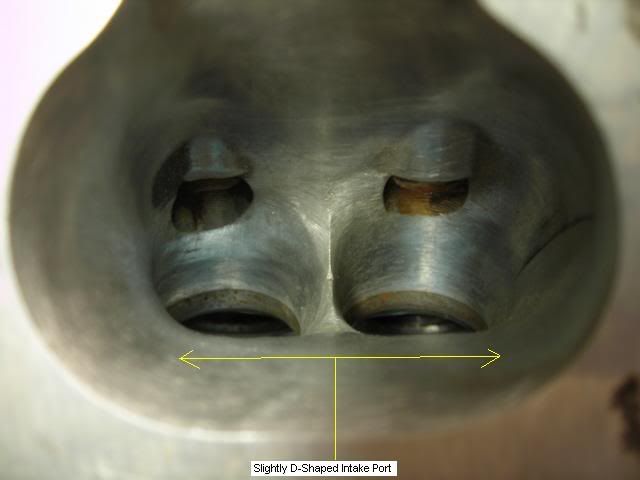
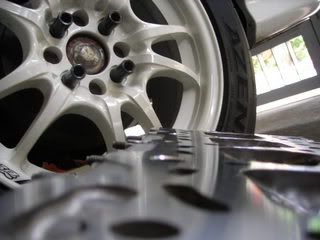
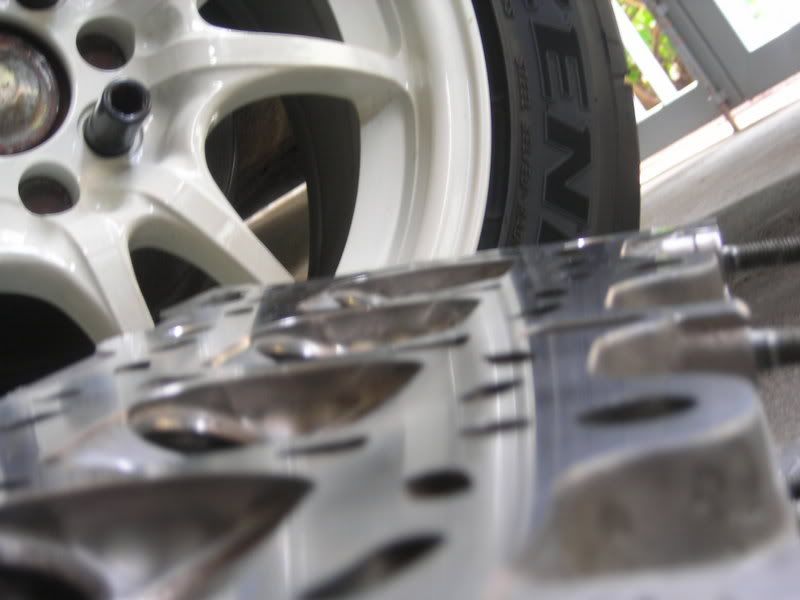
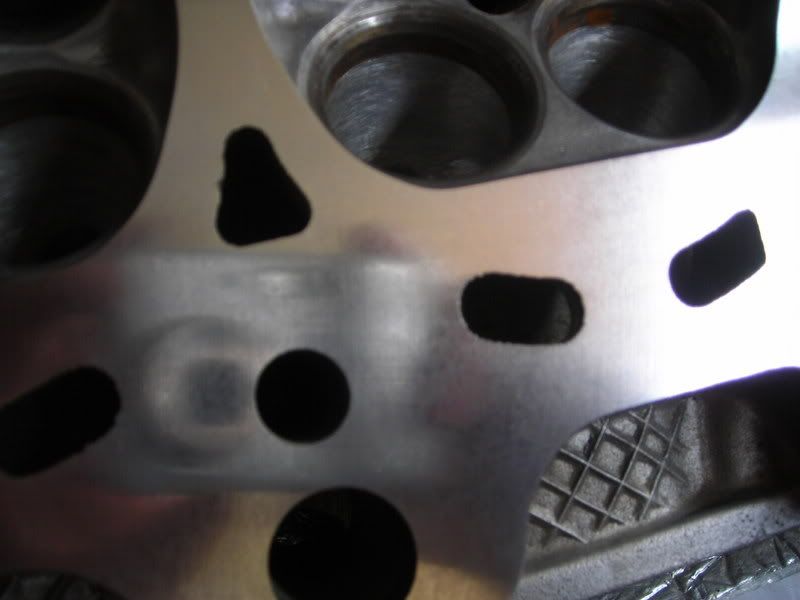
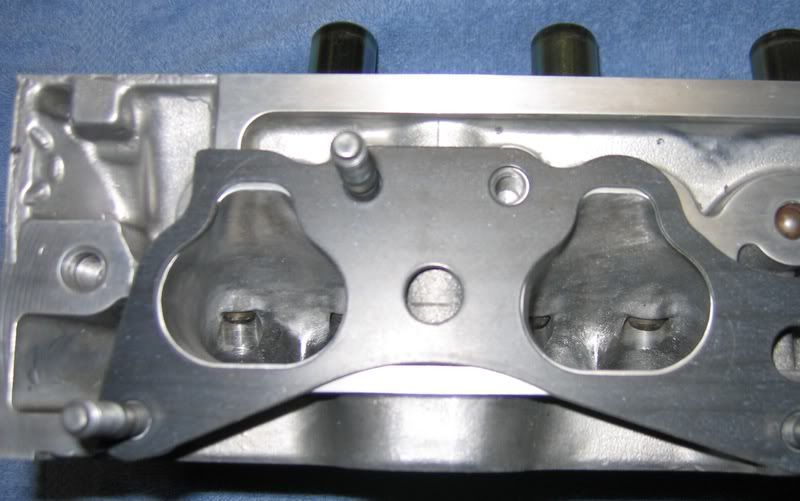
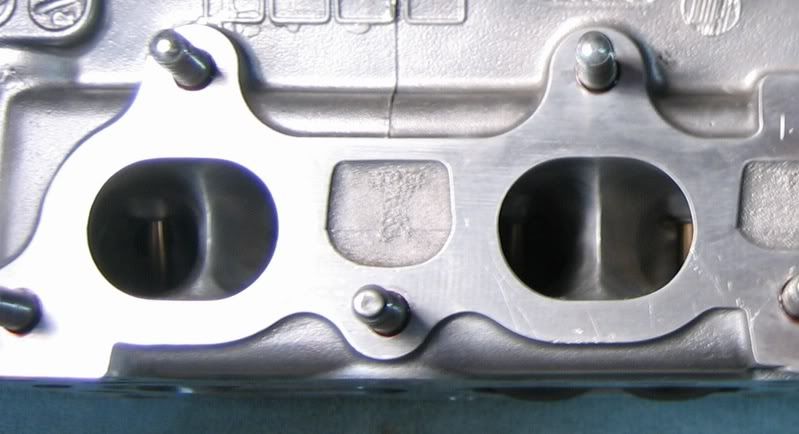
Here's my D16Y8 head. I mostly used a Dremel and did some by hand. The intake is ground to 60 grit while the exhaust I polished with 600 grit. When I went at it I tried to just smooth out the surfaces and remove the casting marks rather than alter the flow in any way.
Intake:
![Image]()
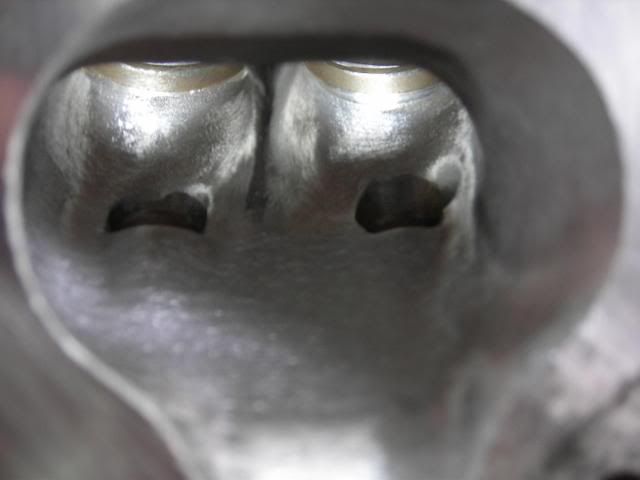
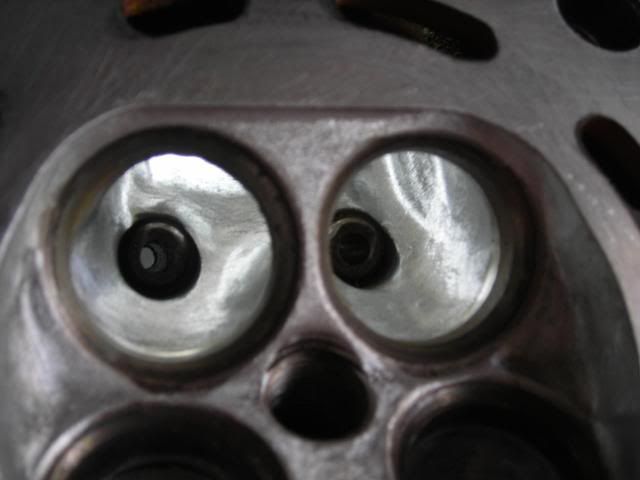
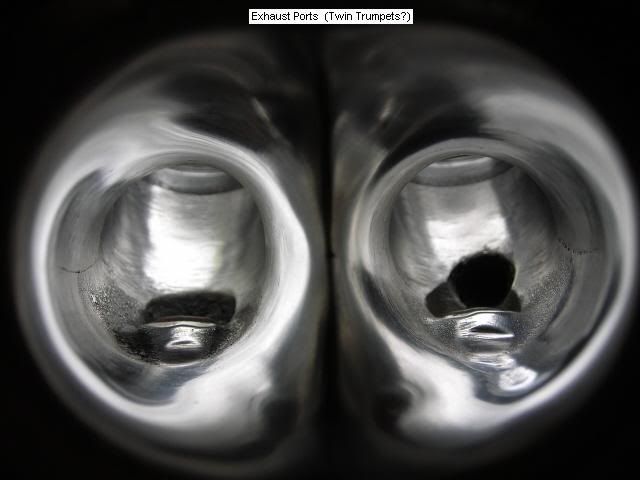
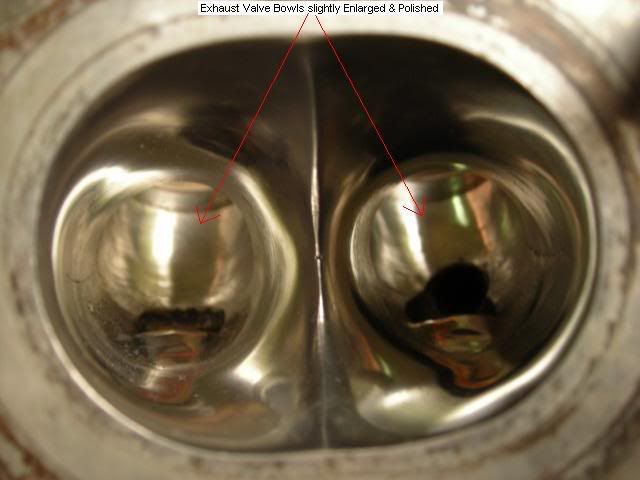
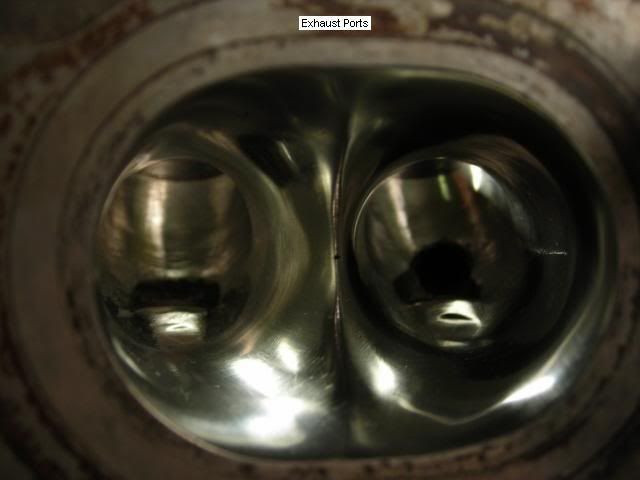
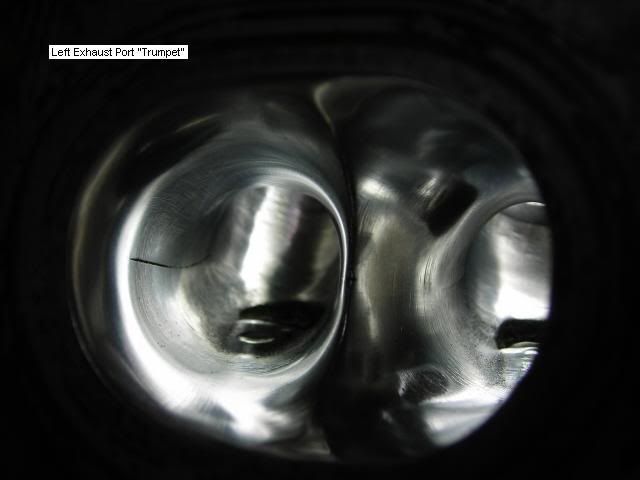
Exhaust:
![Image]()
Ready - go!
Here's my D16Y8 head. I mostly used a Dremel and did some by hand. The intake is ground to 60 grit while the exhaust I polished with 600 grit. When I went at it I tried to just smooth out the surfaces and remove the casting marks rather than alter the flow in any way.
Intake:
Exhaust:
Ready - go!