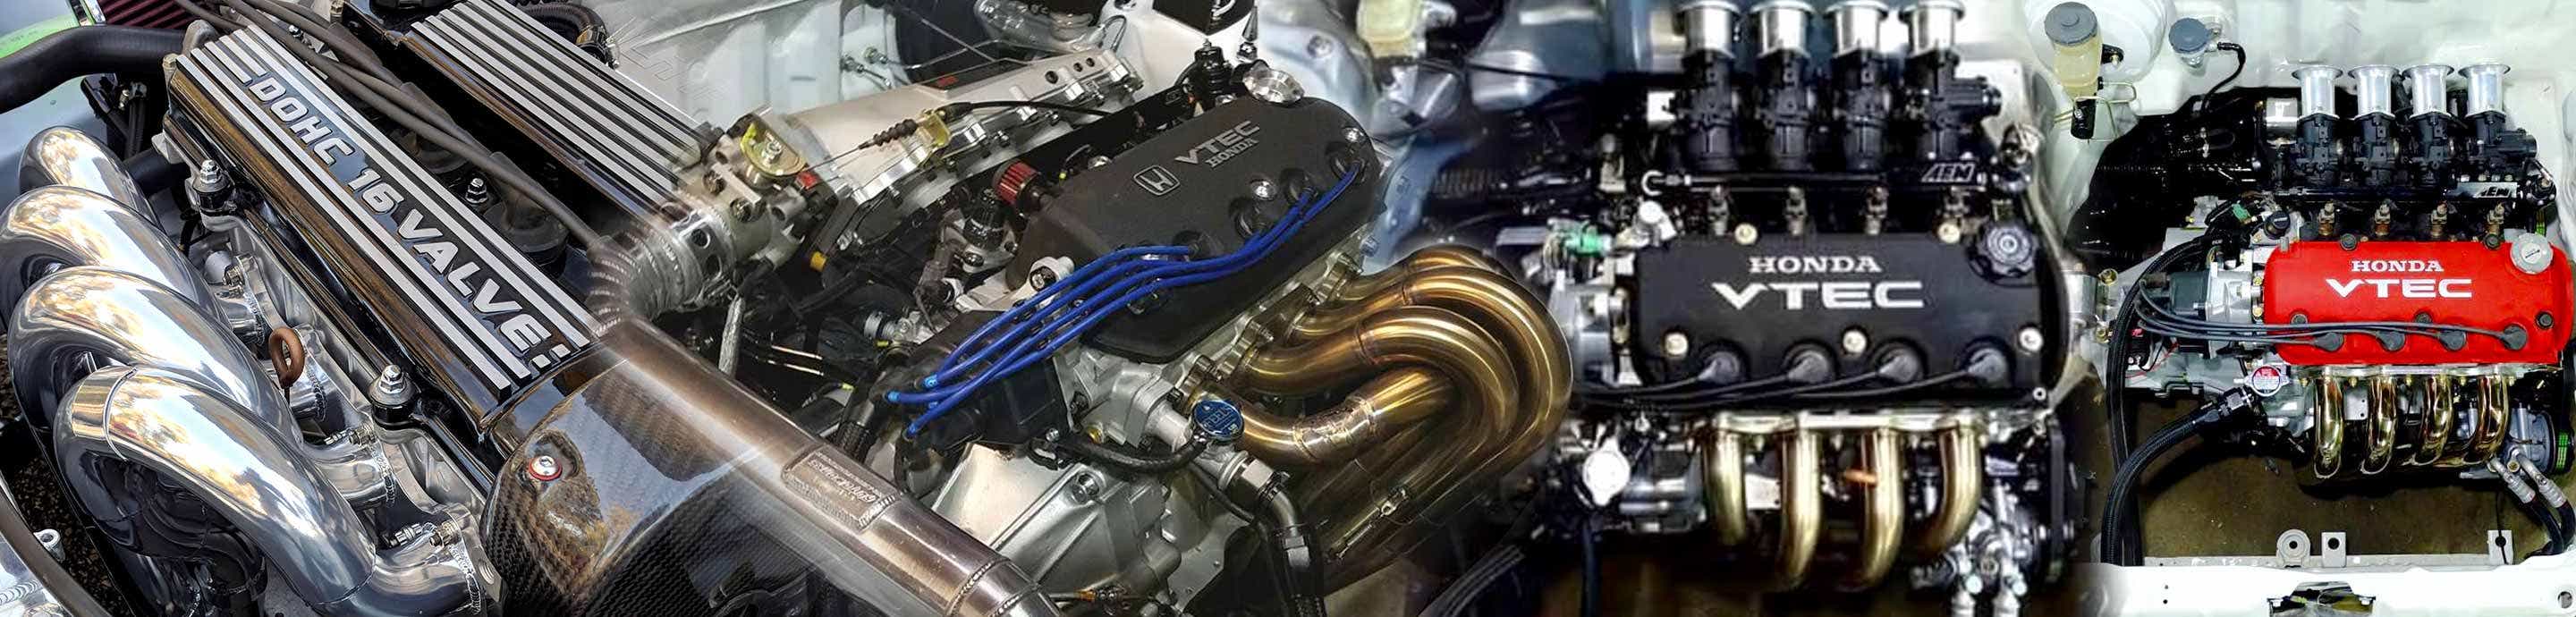

I'm starting this thread for everyone that may have purchased a Jackson Racing Super Charger for their D-Series in the past 5-6 years. I began my search for one over a year ago, and finally purchased mine off eBay for about $2,000. I've searched all the forums for as much relevant information as I can over the past 20 years and while there is a ton of great info, there is very little relevant current information and many links are dead or pictures are lost.
So I wanted to start a new discussion thread for those actually wanting to go down this road today.
Please do NOT tell me about how your Turbo is cheaper and makes more power and is much better than a SuperCharger. Feel free to post that on a different thread.
This is what I purchased. It was missing the alternator bracket, the FMU which I wasn't going to use anyways, and the various hoses and connectors. But the primary parts were all there and came with the fuel rail, injectors, throttle body. It also came with the unobtainable high boost crank pulley and the JR 3.4 pulley. I just wasn't sure how much of it would apply to my D16A6. I did just by chance happen to purchase an Alternator mount off a seller on Facebook Marketplace while searching locally for a JRSC prior to buying this kit off Ebay. It came with some extra parts that I weren't sure were even relevant to my application.

Factory Installation Manual
Factory Parts
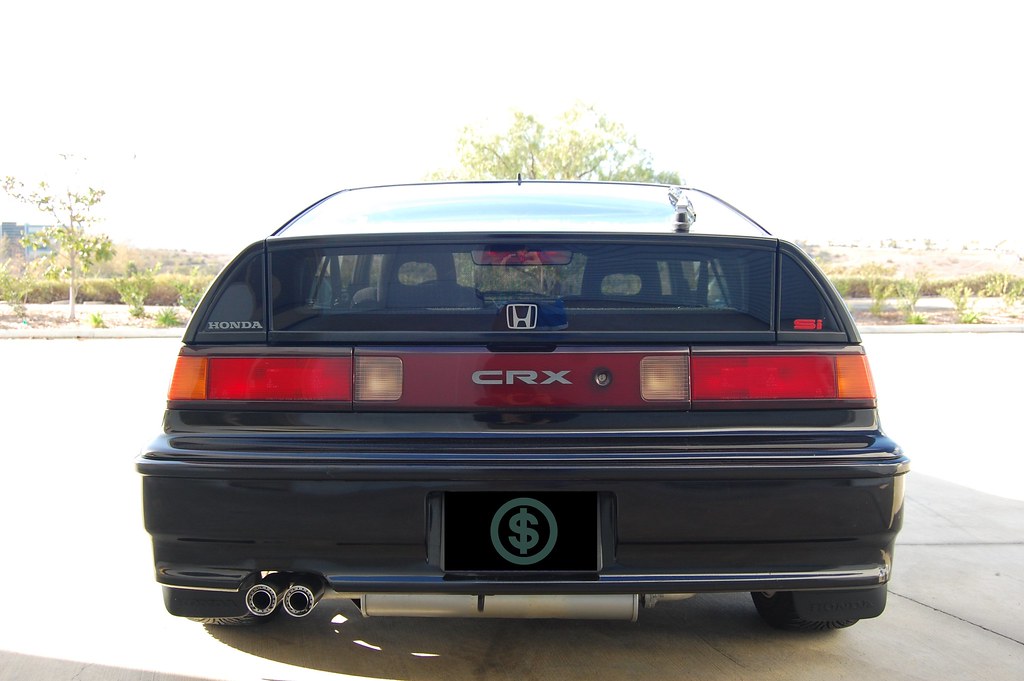
This is my CRX and info on my process
 www.d-series.org
Lets begin with brochure which can still be found online.

If you're looking for a CARB sticker, these are available on eBay for $40 + shipping
Search "Jackson racing supercharger carb legal decal sticker integra gsr rsx civic bb6"
I'm guessing they printed them off because the listing always says they have only 1 left.
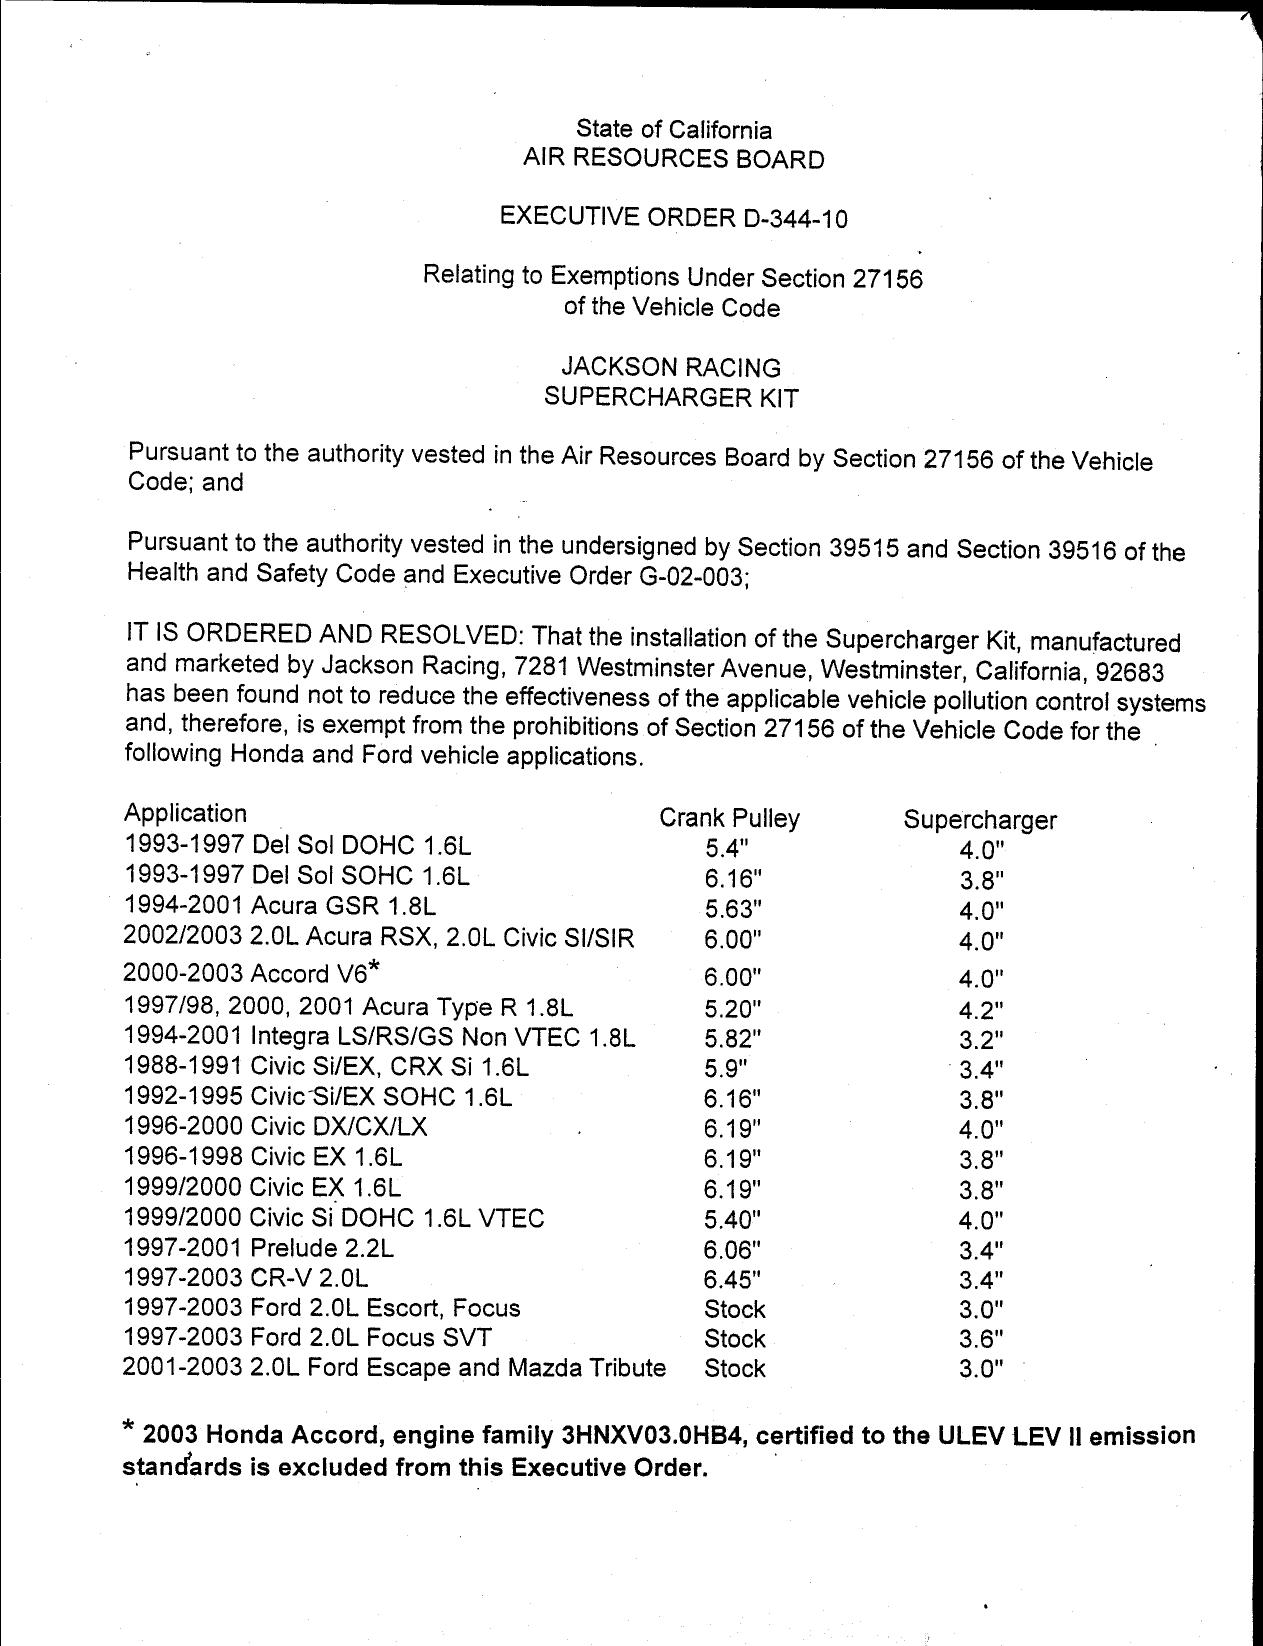
The E.O.# D-344-10 is the latest one.
 arb.parts

1320 Performance on ebay has some tensioner parts and pulleys. They have more parts for B-Series.
California JRSC Owners?
 www.d-series.org
Install Notes here on D-Series
 www.d-series.org
www.d-series.org
www.d-series.org
Install Notes off D-Series (Installed May 11, 2000)

JRSC for Noobies
 www.d-series.org
MODDING
LHT is back to modifying the JRSC to be liquid cooled. At this time the price is $1195 to modify your manifold and S-tube.
 www.lhtperformance.com
Paterico's information is where I initially began researching from. He's got a ton of information on what has worked for him.
 www.d-series.org
Rebuild Kits are available on ebay for $110

Some pulley's can still be bought here and on ebay
 colorfittings.com
Very Basic Understanding of the D-series JRSC kits. The Sebring labeled ones were the very first generation.
www.d-series.org
As soon as I received my purchase, I carefully documented what I had and what I was missing. The previous owner purchased it for his build, but sold the car and never installed it. So I had no idea of the actual history of the blower. The rotors were partially coated and there was some grind marks inside the housing. I smoothed the housing by sanding it with 320grit sand paper. The aluminum is pretty soft so it's not to hard. I used various tools to smooth it out and polish. Several people online mentioned that acetone can be used to strip the OEM coating off the rotors. I haven't tried that yet but that's my plan. I use a vapor steamer which worked as well but just very slowly.

I've seen references to this diagram for how the super charger is installed but I didn't understand how the belts are routed.The diagram on the left shows the two belts on the back and front parts of the crank pulley. The second diagram shows both belts on the same part of the crank pulley. I couldn't find any information to clarify this.

So I wanted to start a new discussion thread for those actually wanting to go down this road today.
Please do NOT tell me about how your Turbo is cheaper and makes more power and is much better than a SuperCharger. Feel free to post that on a different thread.
This is what I purchased. It was missing the alternator bracket, the FMU which I wasn't going to use anyways, and the various hoses and connectors. But the primary parts were all there and came with the fuel rail, injectors, throttle body. It also came with the unobtainable high boost crank pulley and the JR 3.4 pulley. I just wasn't sure how much of it would apply to my D16A6. I did just by chance happen to purchase an Alternator mount off a seller on Facebook Marketplace while searching locally for a JRSC prior to buying this kit off Ebay. It came with some extra parts that I weren't sure were even relevant to my application.
Factory Installation Manual
Factory Parts
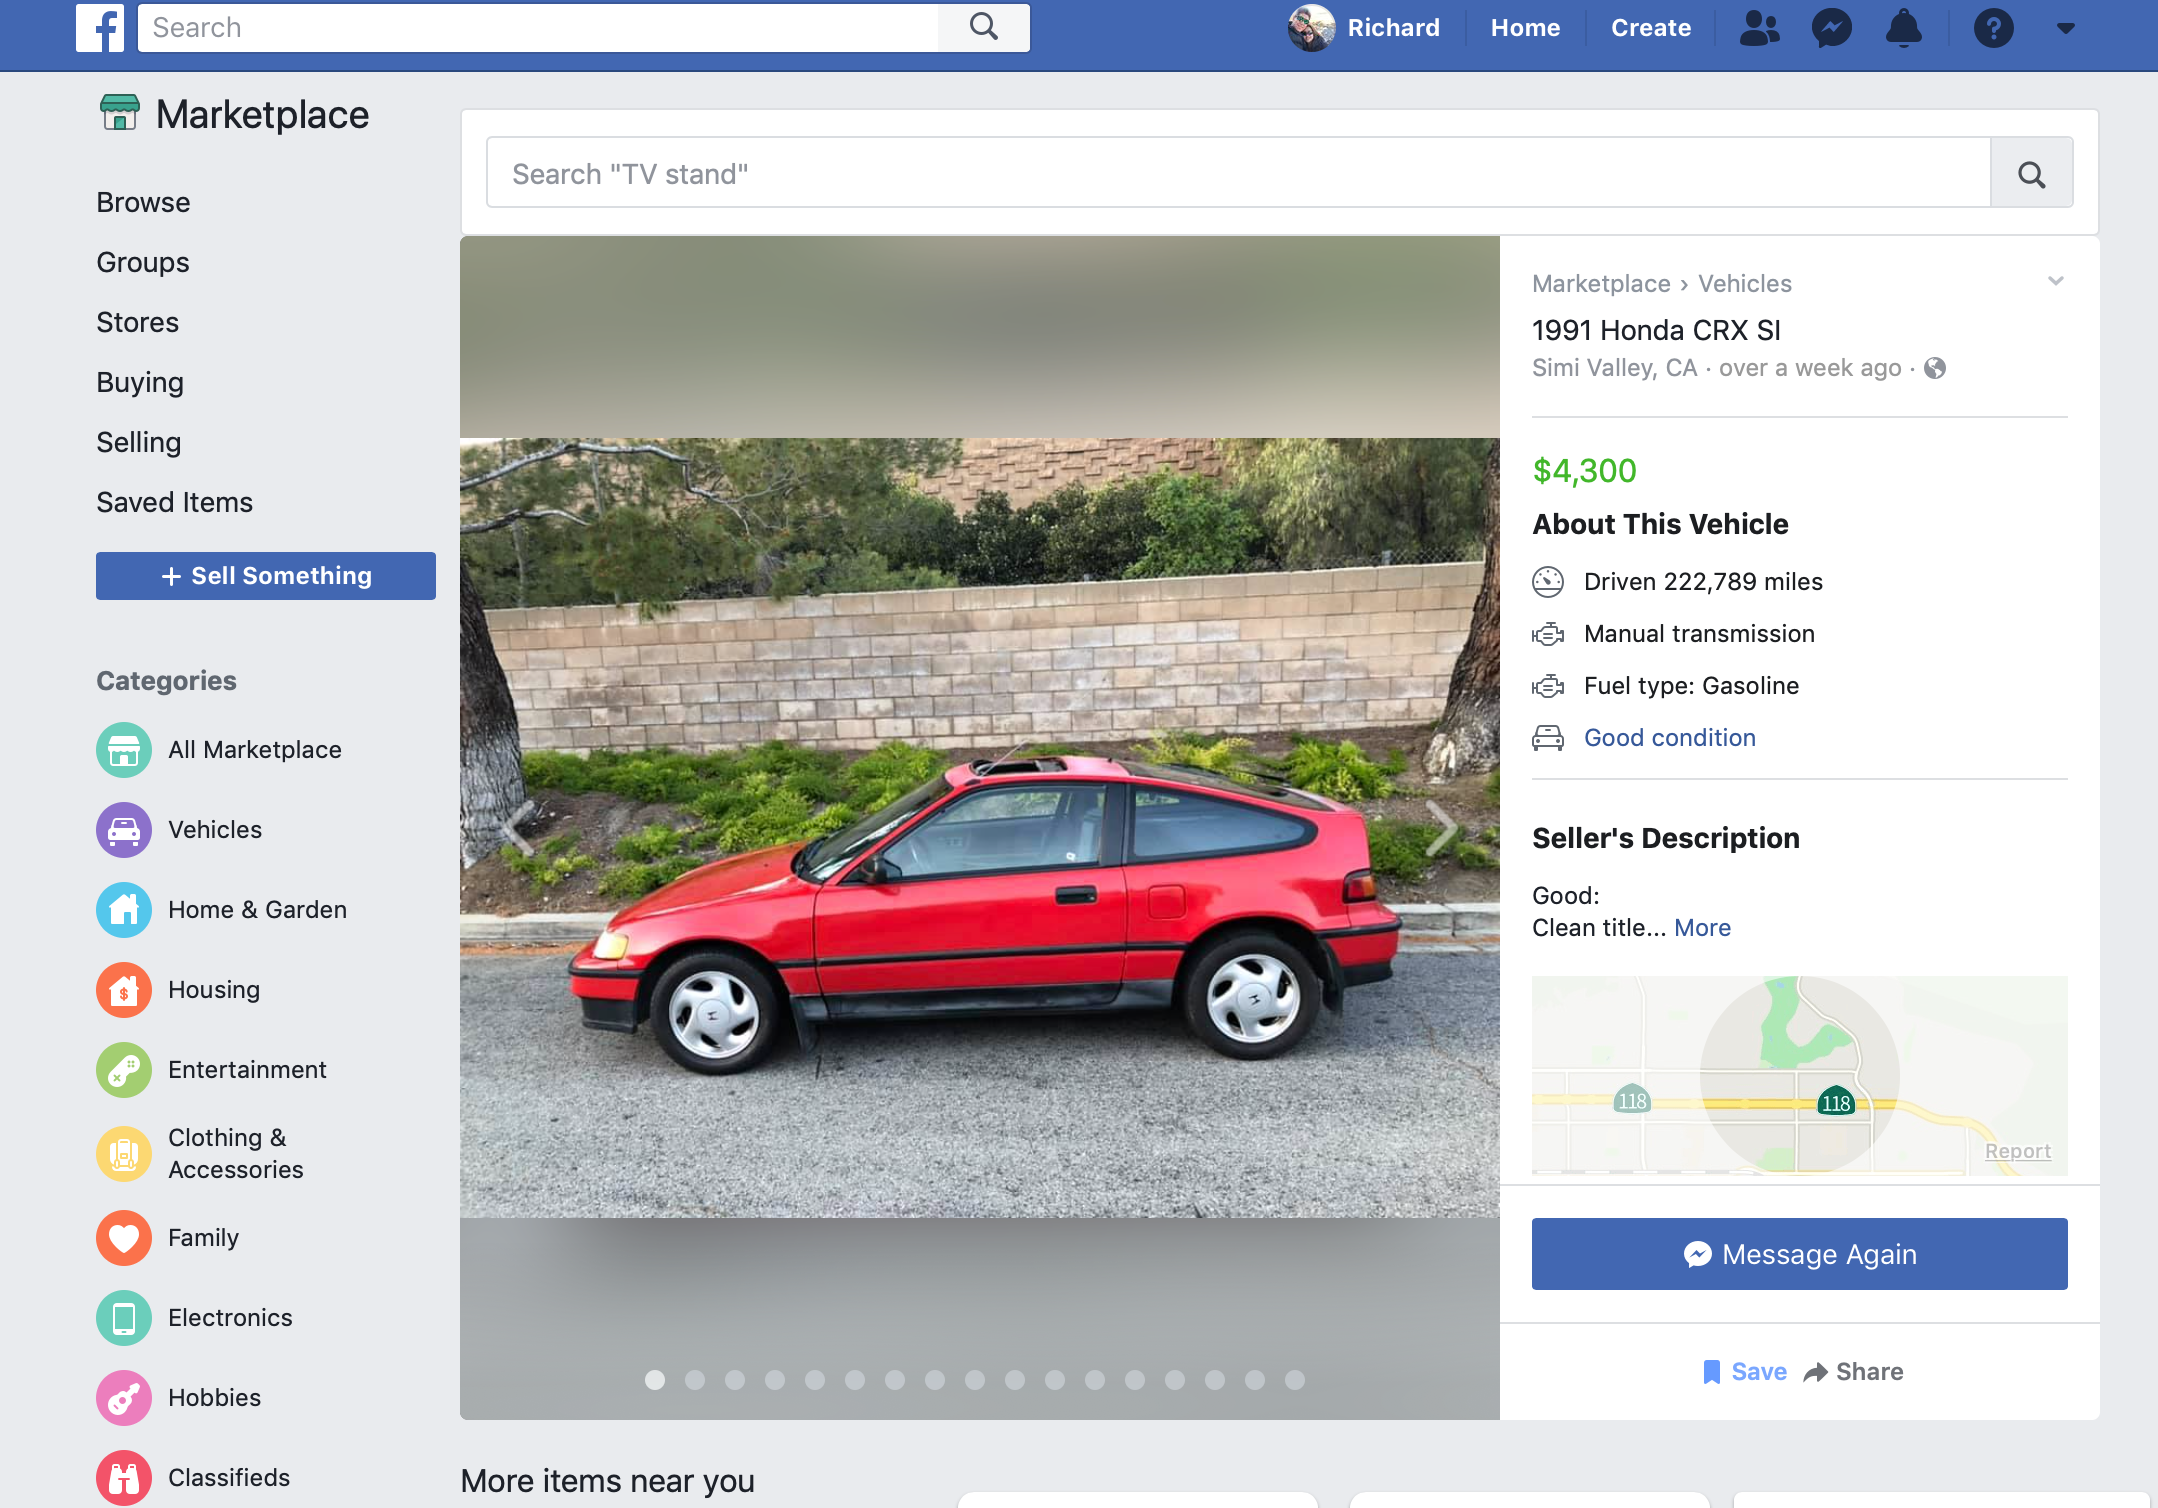
This is my CRX and info on my process
My Restored 91 CRX Si
When I was a kid, there were two cars I always wanted to own, a supercharged 1988 Toyota MR2 and a 1991 Honda CRX Si. After 7 years of searching, I finally found the CRX for me on Facebook Marketplace for $4300. I was looking for a clean red one that was unmodified and could use some TLC to...
Lets begin with brochure which can still be found online.
If you're looking for a CARB sticker, these are available on eBay for $40 + shipping
Search "Jackson racing supercharger carb legal decal sticker integra gsr rsx civic bb6"
I'm guessing they printed them off because the listing always says they have only 1 left.
The E.O.# D-344-10 is the latest one.
Executive Order D-344-10 Jackson Racing
CARB approval executive order D-344-10 validity, vehicle applications, and document download
1320 Performance on ebay has some tensioner parts and pulleys. They have more parts for B-Series.
California JRSC Owners?
JRSC CRX 91 Si
Hello Guys, New to this site. Well, story is I picked up a CRX si with a JRSC on the car. The car has stock motor, but I noticed that the timing was pulled forward, towards the front of the car, instead of in the middle area, where the distributor usually lines up flush. Anyway, has anyone...
Install Notes here on D-Series
JRSC Install notes
JRSC Install how-to JRSC Preparation Tools Required: 10mm wrench, gear wrench and ratchet(1/4' and 3/8') 12mm wrench, gear wrench and ratchet(1/4' and 3/8') 14mm wrench, gear wrench and ratchet(1/4' and 3/8') Screwdrivers flat heads and phillips all the sizes you have Needle nose pliers...
JRSC - Install QUesitons
JRSC - Install Questions Wassap Guys, I began working on my JRSC install this weekend and Im kinda stuck right now... I was test fitting the SC itself, and noticed the blower is making contact with the lower parts behind the block like there wasnt enuff space. I couldnt get the SC lined up...
Install Notes off D-Series (Installed May 11, 2000)
JRSC for Noobies
Jrsc for noobs
jrsc guys need your input here in picture 1: which hose goes there? in picture 2: what u guys think about the space between the pulley and the chassis? is itnt too close?
MODDING
LHT is back to modifying the JRSC to be liquid cooled. At this time the price is $1195 to modify your manifold and S-tube.
LHT Intercooler Manifold | lhtperformance
www.lhtperformance.com
Paterico's information is where I initially began researching from. He's got a ton of information on what has worked for him.
Paterico's supercharged D16A6 CRX
Background: I bought this car back in 2008 from a buddy who thought he wanted to do a H swap but quickly grew tired of the project. The car was previously used for Autox events so it already came with quite a few goodies like a JRSC kit, a quaife LSD, a Zdyne ECU, a kamikaze header, and a...
Rebuild Kits are available on ebay for $110
Some pulley's can still be bought here and on ebay
Supercharger Parts | ColorFittings
colorfittings.com
Very Basic Understanding of the D-series JRSC kits. The Sebring labeled ones were the very first generation.
JRSC D16 kit differences?
Hi guys Well i think in my excitement to get my car JRSCd ive overlooked a few bits. To help me sort things out, would anyone in the know, be able to point out the differences between the different D series kits Jackson made. Such as: How many kits did JR do for the D series? What were the...
As soon as I received my purchase, I carefully documented what I had and what I was missing. The previous owner purchased it for his build, but sold the car and never installed it. So I had no idea of the actual history of the blower. The rotors were partially coated and there was some grind marks inside the housing. I smoothed the housing by sanding it with 320grit sand paper. The aluminum is pretty soft so it's not to hard. I used various tools to smooth it out and polish. Several people online mentioned that acetone can be used to strip the OEM coating off the rotors. I haven't tried that yet but that's my plan. I use a vapor steamer which worked as well but just very slowly.
I've seen references to this diagram for how the super charger is installed but I didn't understand how the belts are routed.The diagram on the left shows the two belts on the back and front parts of the crank pulley. The second diagram shows both belts on the same part of the crank pulley. I couldn't find any information to clarify this.

")


