
ok this is my del so li converted to RHD yah i now its not too detailed but im just gonna post pics..
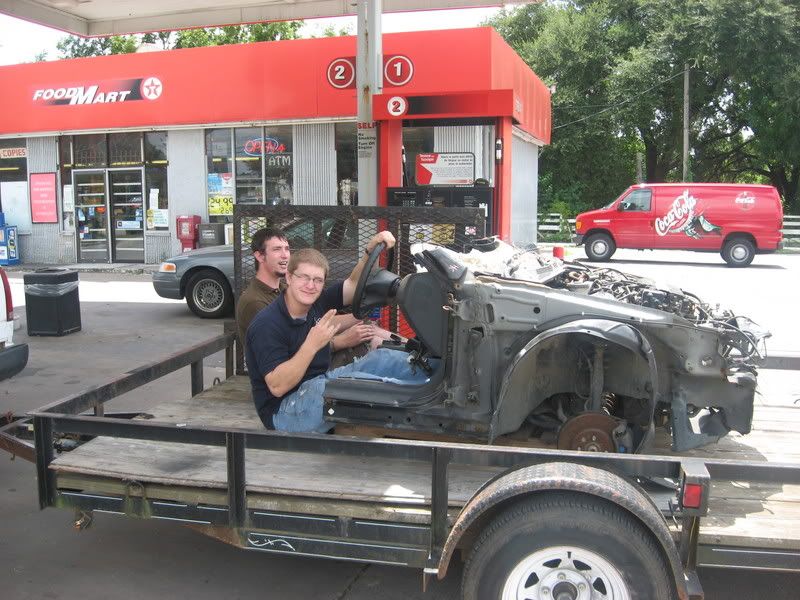
got the car cheap with no motor and got the front clip for cheap as hell 1200 from my supplier in houston
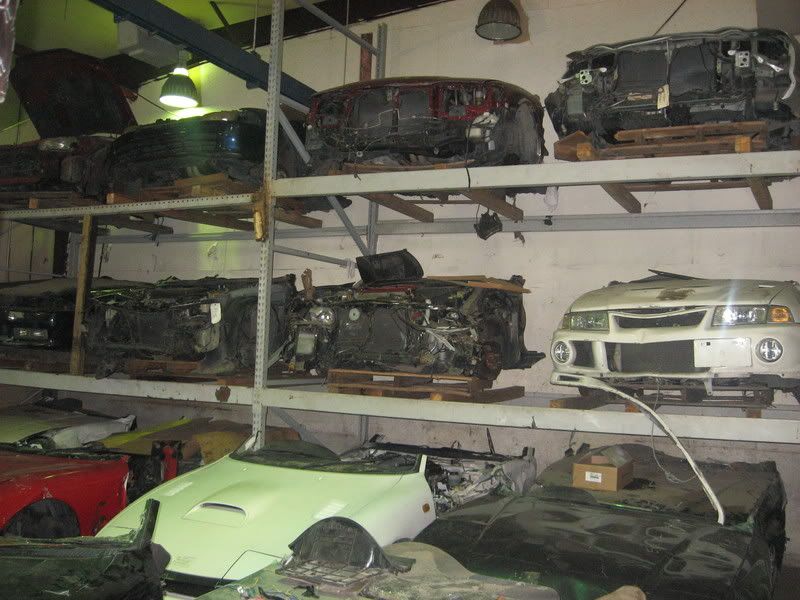
heres my clip
![Image]()
![Image]()
other clips")
![Image]()
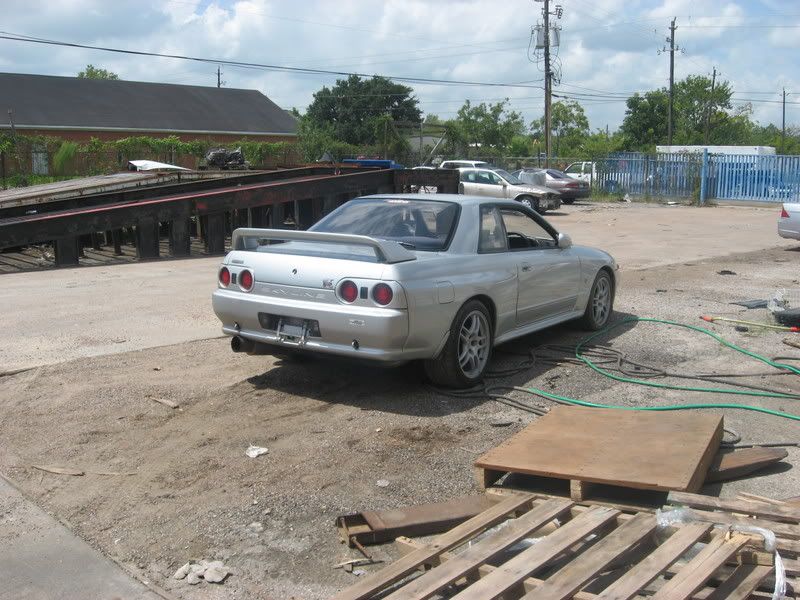
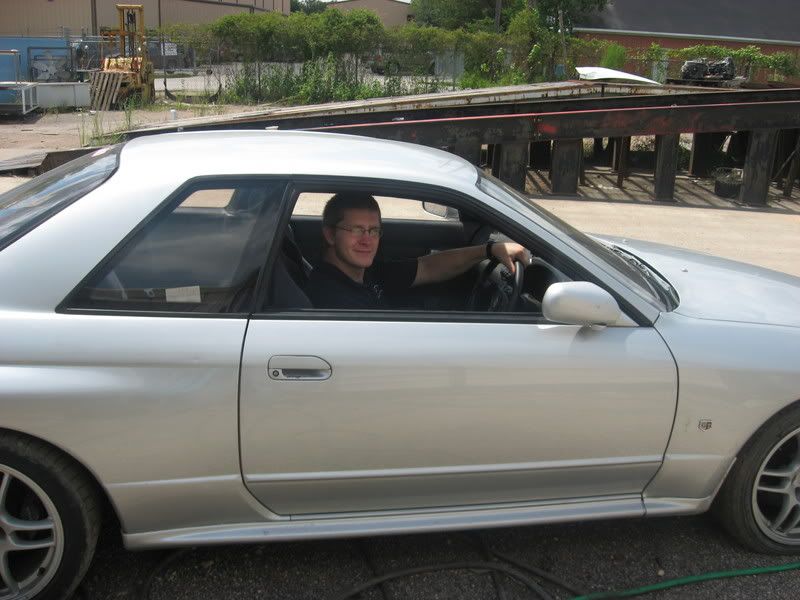
SKYLINE ANYONE??
![Image]()
![Image]()
drill out the spot welds and us a air hammer to take out the firewall after you strip it of EVERYTHING
alos make sure you put a strut tower bar on the car when u pull this thing out cause the car will flexand you dont want it getting out of wack..
![Image]()
rhd dash chillin
![Image]()
got the car cheap with no motor and got the front clip for cheap as hell 1200 from my supplier in houston
heres my clip

other clips
SKYLINE ANYONE??
drill out the spot welds and us a air hammer to take out the firewall after you strip it of EVERYTHING
alos make sure you put a strut tower bar on the car when u pull this thing out cause the car will flexand you dont want it getting out of wack..

rhd dash chillin


